Wednesday, April 11, 2012

Noise Reduction

1/400 | f/5.6 | ISO 1600 | 400mm
Applying noise reduction is one of the first steps that I take when processing an image. While the results from reducing noise in a global sense (attempting to reduce the noise from the entire image at once) can be effective, I prefer to use layers and layer masks to apply different noise reduction settings to different parts of the image.


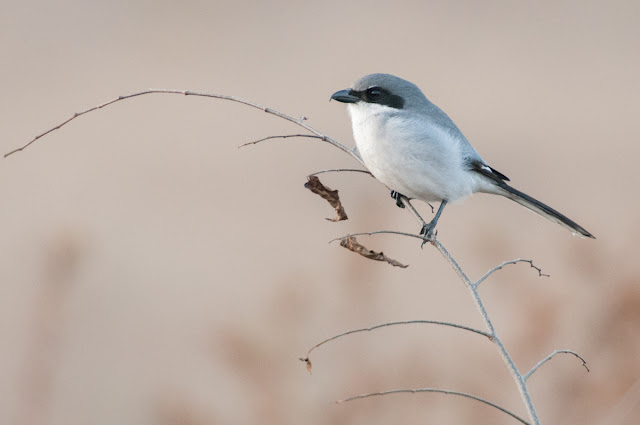
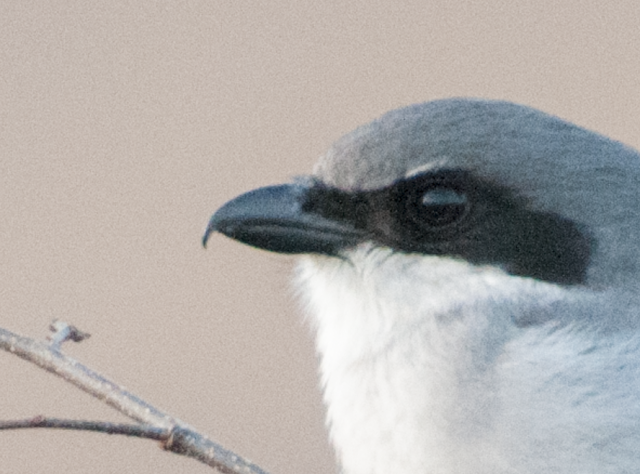
Below is a 150% crop of the original image. It was shot at ISO 1600, so we expect there to be noise throughout.
Original image
Noise reduction will be accomplished in two steps. The first step will be to reduce the noise (and remove any detail) from the background. Once the background is noise-free, we can attempt to reduce the noise in the subject, in this case a Loggerhead Shrike. 
I start off in photoshop by duplicating the background layer (Cmd/Ctrl + J). Then I apply the Reduce Noise filter (in the Filter --> Noise dropdown menu) to the duplicate layer with the settings below:
  • Strength: 10 (we want to get rid of all noise)
  • Preserve details: 0%
  • Reduce Color Noise: 15% (if you increase this too much, you will see that you get a haloing effect around the subject - something that you don't want to remove later)
  • Sharpen Details: 0% (we can sharpen later)
The results of this filter are shown below. Notice that the background is just how we want it, without any noise. However, the subject has also lost a lot of detail. 
Strong noise reduction applied to the entire image
 To bring back the detail in the Loggerhead Shrike, we need to apply a layer mask to this layer (Layer --> Layer Mask --> Reveal All). With the method of your choice, you can mask out the the areas that you don't want the noise reduction to be applied to by making sure that those areas are black. The easiest way to do this is to use the brush tool and paint with black over all the areas that you don't want the noise reduction to be applied.*
*In my case, I decided to use the Color Range selection tool (Select --> Color Range...) to select the sky (and then use the inverse of the selection to select the bird). I then used the dodge/burn tool to create a crisper mask.
Layer mask 
Below are the results after the layer mask is applied to the reduced noise layer. Note that the background is smooth, but the subject still looks like it did in the original image.
Noise reduction applied to background only (layer mask was used to mask out the Loggerhead Shrike)
Next, noise reduction is applied to the subject. Again, duplicate the background layer and apply the Reduce Noise filter. I moved the settings around until I found a good balance between noise reduction and detail preservation:
  • Strength: 7 
  • Preserve details: 80%
  • Reduce Color Noise: 10%
  • Sharpen Details: 0%
Next, apply a layer mask to the current layer, using the brush to paint black on the background and white on the subject. (You could just as easily copy the previous mask over and invert it)
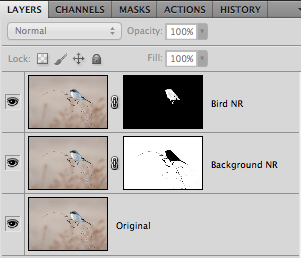
Final layers pallete
Below is the final result of the noise reduction. Huge difference between the before and after!
Final image. Noise reduction applied to the background and subject separately with the use of layers and layer masks


No comments:

Post a Comment